Artist, designer, illustrator.
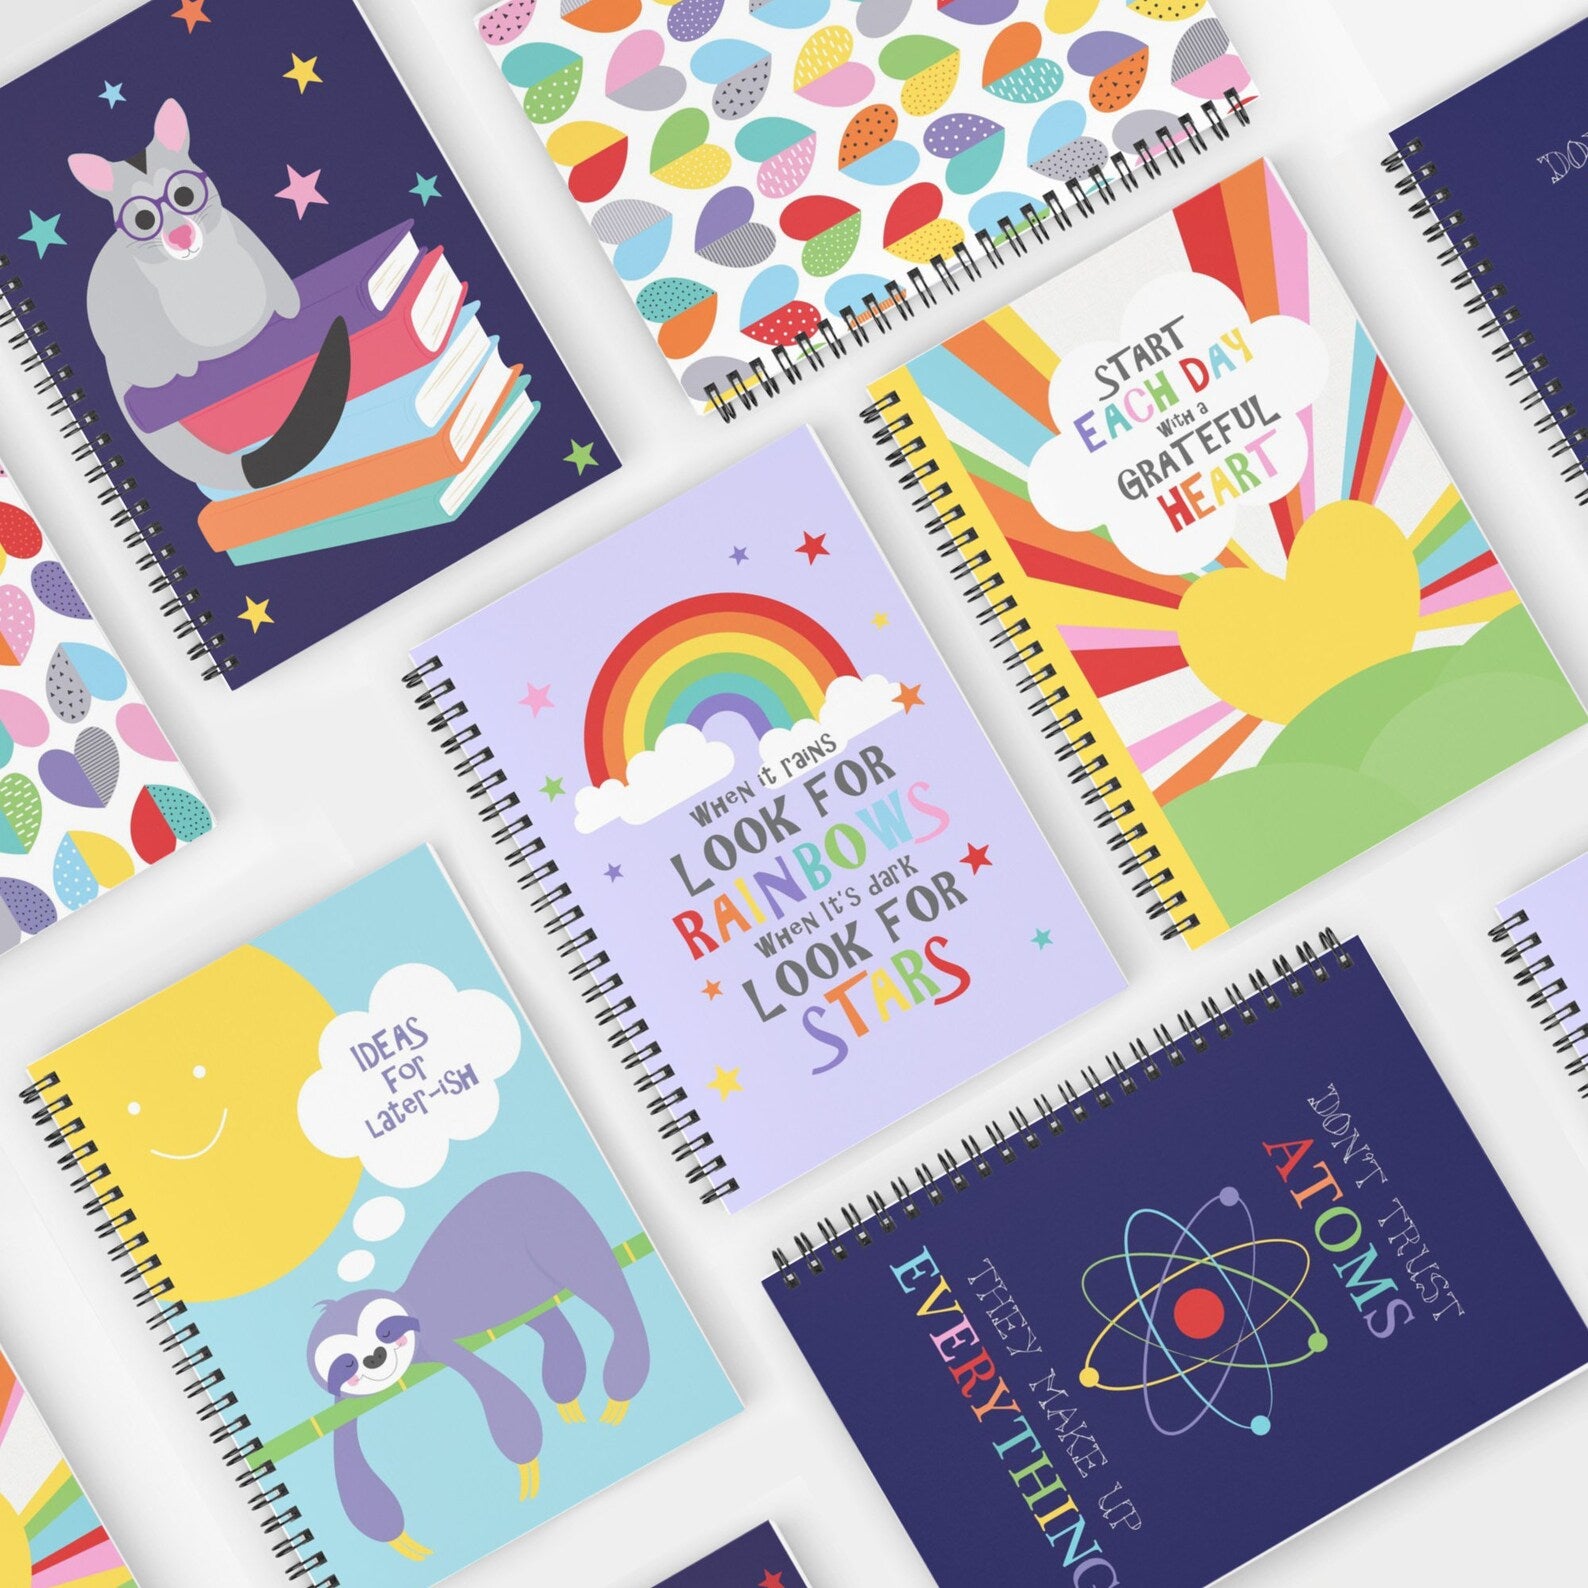
Creative Monsoon is a bespoke art studio based in Brisbane, Australia. We're all about crafting joy through vibrant designs. From delightful kids' prints to enchanting vintage vibes. We invite you to explore our whimsical world of art and illustration and bring a touch of Creative Monsoon's magic into your life.


